
How to Install an Artificial Grass Putting Green Step-by-Step
Written by Lawn Pros. Our in-house team specializes in synthetic turf and backyard putting greens. We follow manufacturer specifications, use proper base preparation and drainage methods, and stand behind our workmanship with licensed, insured installers. This guide shares the same process we use on real projects so you get clear, expert instructions you can trust.
Build a stable, well-draining base → place and set your putting cups → lay and seam the turf → secure edges and add infill → brush and fine-tune ball roll speed. The quality of your base preparation, drainage, and cup installation will make or break your green.
Planning Your Putting Green
- Choose the right spot. Pick an area with good sunlight and room to swing a putter. Avoid low spots that puddle. A gentle slope/grading of about 1–2% helps water run off without creating unplayable breaks.
- Decide on size and shape. Sketch your design with a hose or rope on the ground. Include room for a fringe border so missed putts don’t roll onto soil or mulch.
- Plan the breaks on purpose. A flat putt is fine, but a slight, consistent break is more fun. Keep the high side toward the best drainage path.
- Mark utilities. Call before you dig. You’ll be doing shallow
soil excavation, but it still matters.

Choosing Materials and Tools
Turf types.
- Putting surface turf: short
pile height (usually ~0.5–1.0"), dense
face weight and tight stitch for smooth roll. Look for strong
synthetic grass backing and
UV resistance.
- Fringe turf: taller pile to frame the green and hold errant balls.
Base materials.
- Crushed stone or
decomposed granite for the sub-base.
- Bedding layer (fines or sand) for final smoothing.
- Weed barrier to block regrowth (optional but helpful).
Infill options.
- Clean, dry
silica sand is common. It supports fibers and lets you tune
ball roll speed.
- Some systems add specialty infills; always use what the turf maker recommends.
Tools you’ll actually use.
Plate compactor, hand tamper, landscape rake, shovel,
utility knife with extra blades, straight edge, string line,
turf seaming tape/adhesive, hammer or turf staples, nails, stiff push broom or power brush, level, measuring tape, hole saw or post-hole digger for cups.
Preparing the Base
- Clear and grade.
Remove grass, roots, and debris to the design depth (often 3–5"). Rough-shape your slope now for drainage solutions. Good ground leveling starts here. - Install a weed barrier (optional).
Lay the fabric over the native soil to limit future growth. Overlap seams by 6–8". - Build the sub-base.
Add crushed stone in thin lifts (2" at a time). Compact each lift with the plate compactor. Proper substrate compaction is the secret to a firm, even surfaces that won’t settle. - Fine grade for smoothness.
Add a thin bedding layer (stone fines or sand) and rake smooth. Keep that steady 1–2% fall for water. Check with a straight edge to remove dips and humps your future seam alignment and cup heights depend on this. - Why this matters: A great synthetic turf can’t fix a bad base. Stable base = durable, true-rolling green.
Installing the Putting Green Cups
- Lay out cup locations.
Place them where they make sense for play and drainage. Avoid the very lowest spot.
- Cut holes cleanly.
Use a hole saw or post-hole digger sized for the cup sleeve. Holes should be plumb and set to the exact depth of the cup.
- Set and secure sleeves.
Place the sleeves so the top lip will sit flush with the finished turf height. Backfill and compact around each sleeve so they don’t move. This is key to installing putting green cups properly.
- Double-check heights.
A level spanning the sleeve to the base surface helps you predict finished height once turf and infill are added.
Rolling Out and Shaping the Turf
- Let the turf relax.
Unroll the putting turf and let it warm in the sun to remove memory and wrinkles.
- Align the grain.
All pieces must run the same direction to keep a consistent roll. Mark the grain direction on the backing.
- Trim to shape.
Lay the turf over the base and rough-cut with a sharp utility knife, keeping the blade tight to your edge guide. Final turf trimming comes after seaming.
- Make seams disappear.
When using multiple pieces, dry-fit first. Use turf seaming tape and adhesive beneath, not on top. Bring fibers together so there’s no gap or overlap. Roll the seam lightly to set; keep adhesive off the fibers. Good seams are almost invisible and keep putts straight.
Securing the Edges and Applying Infill
- Edge securing.
Pin or nail the perimeter at the base (not through the face) every 6–8", angling fasteners toward the center. Avoid overdriving so you don't pinch fibers. Add flexible edging or paver border if part of your design this also locks the shape.
- Add infill.
Top-dress the putting surface with infill type recommended by your turf manufacturer, usually silica sand. Spread in light passes, brush between each pass, and repeat until you reach the target fill level. Infill supports the fibers, protects the backing, and lets you fine-tune ball roll speed.
- Brush, test, adjust.
Use a stiff broom or power brush to lift fibers and settle infill. Putt across the green from many angles. Add or redistribute infill until the roll is true. If it’s too fast, add a bit more sand; too slow, brush up the fibers and even out the fill.
Finishing Touches and Maintenance Tips
Add fringe borders.
Install taller
fringe turf around the putting surface for a clean frame and a playable collar. Seam the fringe to the green with care so the transition is neat and won’t catch a putter.
Clean edges and transitions.
Where turf meets hardscape or mulch, use metal or paver edging to protect against lift. This also helps keep
edge securing hidden and tidy.
Keep it groomed.
- Regular brushing maintains a smooth, even surface.
- Blow off leaves and debris so they don’t mat into the fibers.
- Top up infill if heavy use or weather moves it.
Watch seams and cups.
Inspect seams a few times a year. Re-adhere if needed before gaps appear. Check cup tops for flush alignment; add a touch of infill around the lip if needed to keep putts rolling clean.
Drainage checks.
After heavy rain, look for puddles. A quick rake or small top-up of fines beneath thin spots (accessed at the edge) can restore the slope. Good drainage protects
synthetic turf durability and prevents odors.
Seasonal care.
In hot months, occasional rinsing cools the surface and refreshes fibers. In cooler months, avoid sharp metal tools on frost. For stains, follow your turf maker’s cleaning guide.
Straight Talk: Common Mistakes to Avoid
- Skipping compaction.
Without solid substrate compaction, the base settles and putts wobble.
- Poor drainage planning.
No drainage solutions = puddles, mildew, and uneven roll.
- Mismatched turf direction.
If the grain runs different ways, speed changes from one section to another.
- High or low cups.
If sleeves aren’t set at the right height, holes feel “crowned” or “sunken,” and putts lip out.
- Dull blades and sloppy cuts.
Always use fresh blades for clean edges and safe turf seaming.
Materials & Specs at a Glance
- Putting turf features to look for
Short pile height, high face weight, strong synthetic grass backing, proven UV resistance.
- Base recipe
Crushed stone sub-base in compacted lifts, thin bedding layer, consistent slope/grading, optional weed barrier.
- Infill notes
Clean, dry silica sand for support and speed control; follow the turf manufacturer’s fill depth.
- Tools checklist
Plate compactor, hand tamper, rake, shovel, tape, level, utility knife, seam tape/adhesive, nails/staples, broom or power brush.
Why This Process Works
Everything centers on a stable base, clean seams, and smart drainage. Good base preparation for putting green turf prevents dips and keeps the surface true. Planned drainage solutions for artificial putting greens stop puddles and odors. Installing putting green cups properly protects hole edges and keeps putts fair. When you combine those with the right turf infill type, careful edge securing, and steady maintenance, your green will look sharp and play great for years.
Conclusion
A backyard putting green is absolutely doable if you keep the basics tight: prepare a solid base, plan drainage, set cups right, align and seam the turf carefully, then infill and brush until the roll feels true. Take your time on the foundation and the rest falls into place. If you want a professional install, we’re happy to help but if you’re going DIY, use this guide as your checklist and enjoy the build.
For more insights on creating the perfect outdoor space, check out our comprehensive landscaping services and artificial turf installation guides.
Ready to Build Your Putting Green?
If you’d like a pro to handle the heavy lifting or just want a second set of expert eyes CC Lawn Pros can help. We’ll look at your space, confirm drainage and base specs, and give you a clear, line-item quote.
Get started now:
- Free design sketch & quote tailored to your yard
- Pro recommendations on turf, cup placement, and fringe
- Transparent pricing with no pressure to book
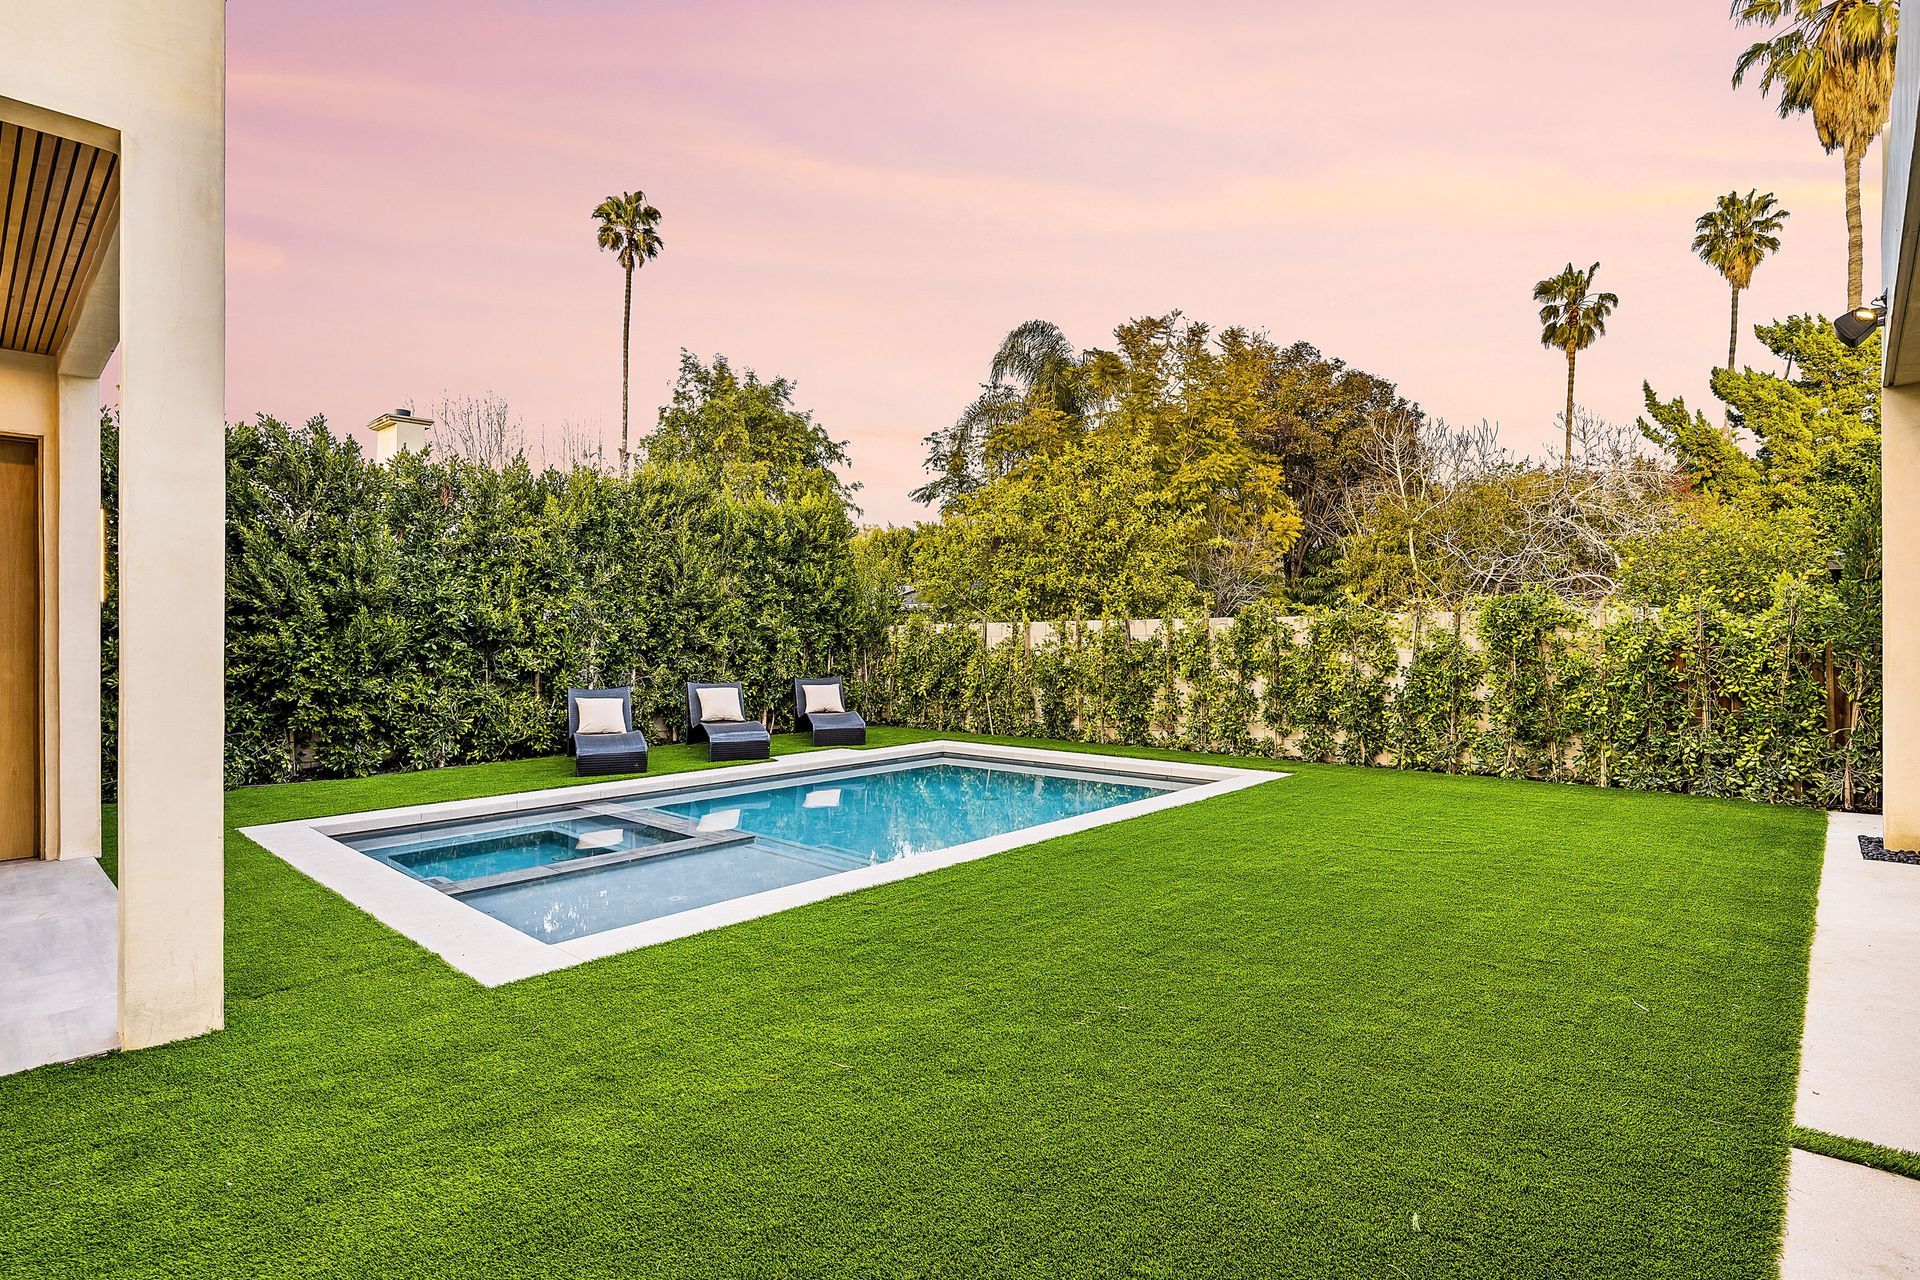
Ready to explore more outdoor projects? Browse our
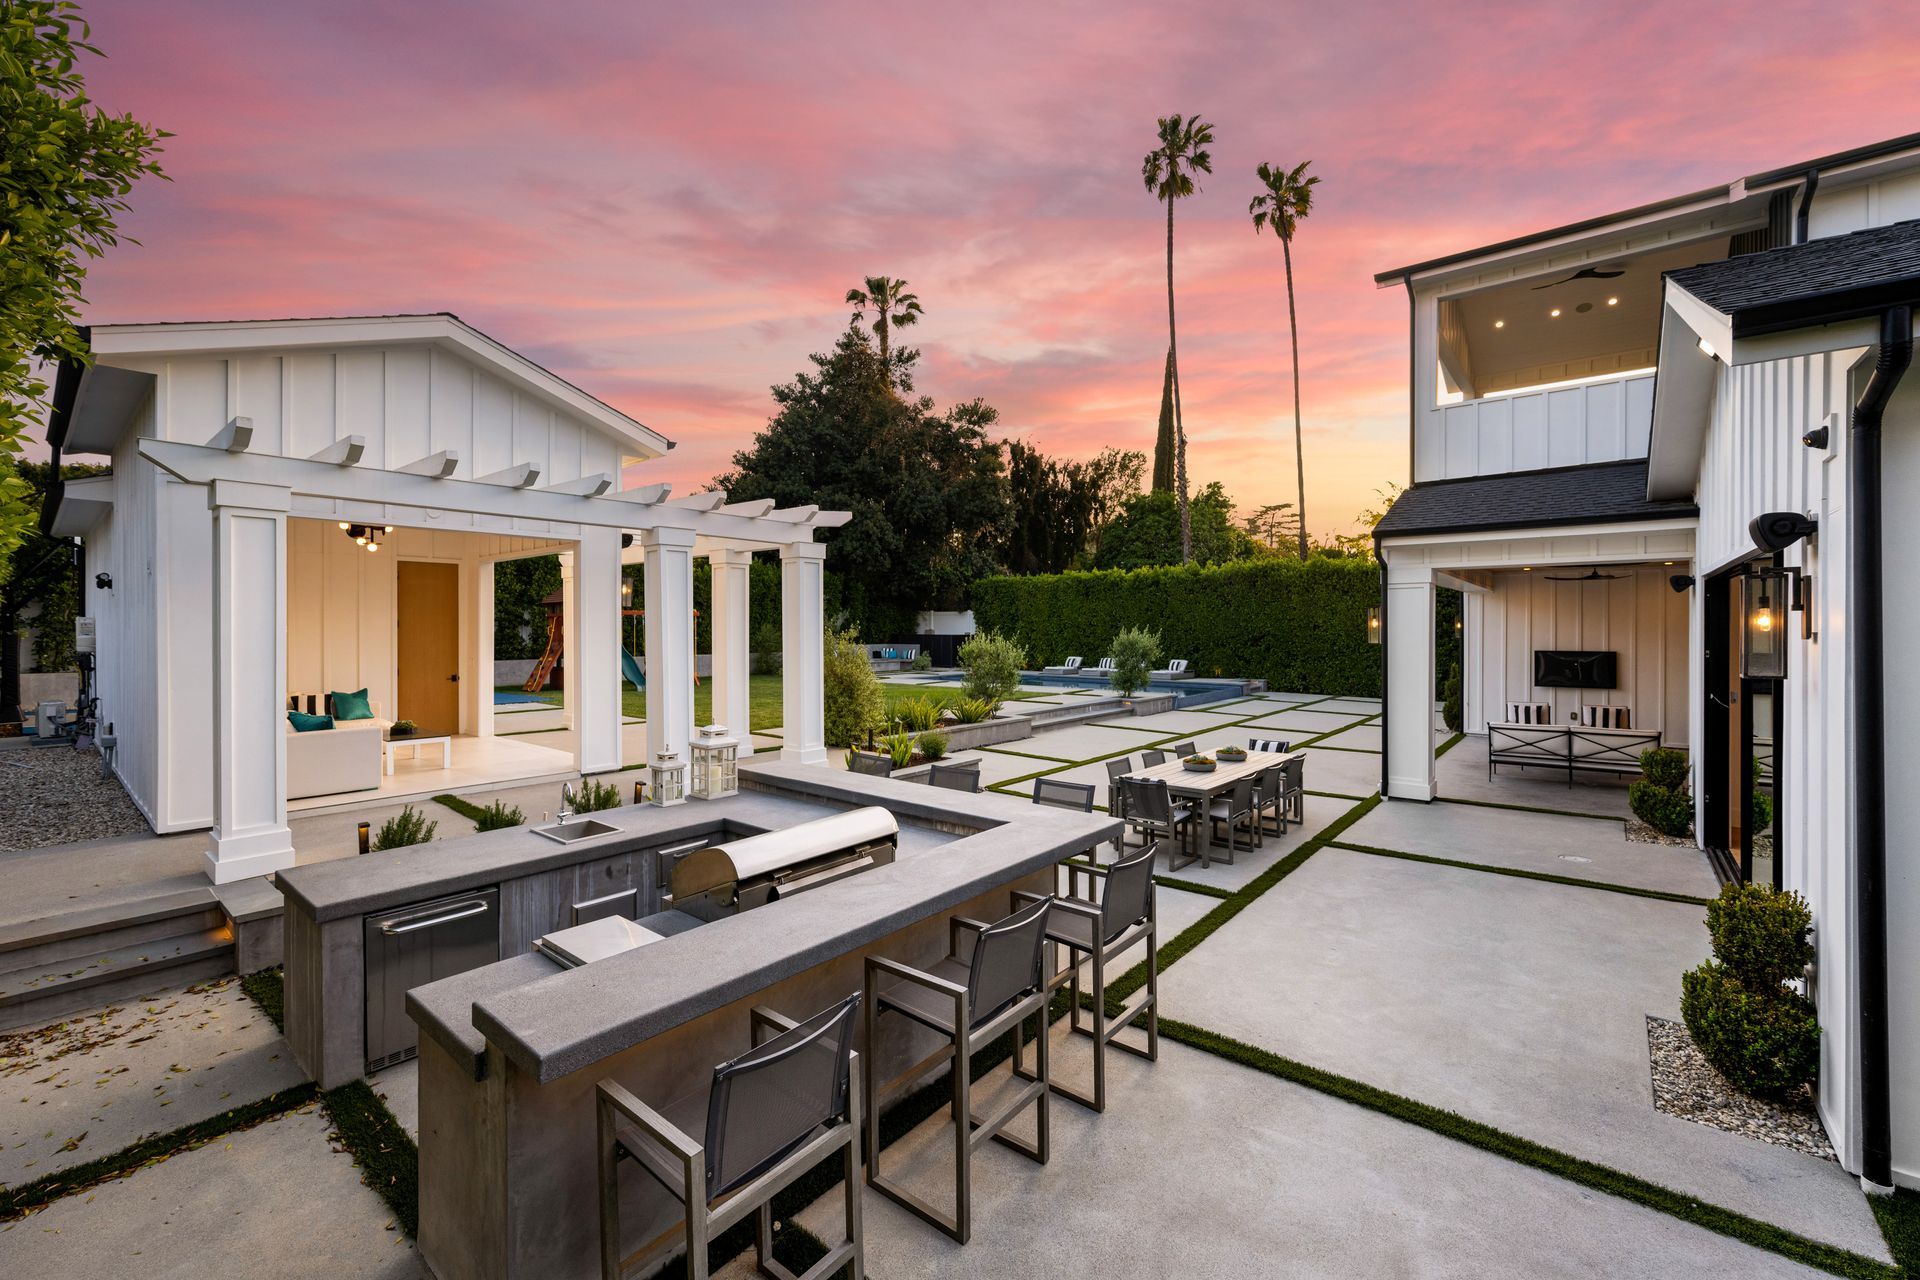
hardscaping services for complementary features like
fire pits,
outdoor kitchens, and
water features to complete your backyard oasis.
Frequently Asked Questions